



The Parallel Bar Problem: Why Your Dip Setup Still Carries a 19th-Century Fixed Width
Friedrich Ludwig Jahn opened a Turnplatz on the Hasenheide field in Berlin in 1811. He built wooden parallel bars at a single width because mass training mattered more than individual fitting. That decision still shows up in gyms, playgrounds, and plenty of home stations. Fixed bars, locked spacing, shoulders left to adapt.
Your shoulder width is not the same as the next person's. When bar width is fixed, you conform or you compensate. A freestanding dip station with adjustable handles changes that. Most lifters never use the adjustment well. They set the bars to whatever feels familiar and then wonder why their wrists or front delts complain.
Placement controls four things:
- Bar width
- Bar height
- Grip diameter
- Floor clearance
The history of parallel bars explains where fixed widths came from. What coaches observe when lifters finally set width for their own frame explains what to do about it. Run the five-minute placement check at the end.
The Fixed Width You Never Chose
Jahn's parallel bars were built for mass participation. Width was a construction choice. A coach could set the bars once and train dozens of students in a row. Competition gymnastics later standardized bars within a narrow range. Public fitness copied the static frame.
Fixed-width dip bars work well if your biacromial width matches the spacing. If it does not, your body invents a solution. A lifter with narrower shoulders tends to drift the hands outward, flare the elbows, and load the front of the shoulder more heavily. A lifter with broader shoulders often rolls the wrists inward, presses the bar into the edge of the palm, and tucks the elbows too aggressively. Neither pattern feels good after months of training.
You can set the bars to your frame instead of reshaping your mechanics to the bar. That is the whole advantage of adjustable dip handles on a freestanding station.
What Placement Actually Controls
Dip bar placement controls the angle of your upper arm relative to your torso, the alignment of your wrists and elbows, and the depth you can reach without hitting the floor. Width is the most personal of these.
A useful reference is your neutral grip push-up hand position. If you do a push-up with your hands under your shoulders and your elbows tracking back, that hand spacing is a starting point for dip bar width. Too wide, and the movement turns into a partial chest fly. Too narrow, and you shift into a triceps-extended position that asks the wrist to flex more than it should.
Bar height controls depth. Set dip bars too low and you either stop short or bend your hips to avoid the floor. Set them too high and the mount becomes a jump, which matters when you are tired at the end of a session. For a freestanding station, you also need enough floor space to walk around the frame and enough clearance above if you train outdoors or under a low ceiling.
Grip diameter matters more than most people think. A 33.5 mm dip bar gives your hand a fuller surface to press through. If the bar is too thick, your fingers do too much of the holding. Too thin and the pressure concentrates in a smaller area of your palm.
A Five-Minute Placement Check
Run this on any dip station you own or use. It takes a few minutes and tells you more than the old set it and move on advice.
Stand between the bars with your arms hanging naturally. Lean forward slightly as you would at the bottom of a dip. The bars should sit under your wrists, not under your knuckles or mid-forearm. If they do not, slide the bars wider or narrower.
Set your hands on the bars and lower yourself halfway. Check that your forearms stay close to vertical. If your elbows flare out hard, the bars are likely too wide. If your wrists bend sharply, the bars are likely too narrow.
Lower to full depth with control. Your shoulders should go just below your elbows, or as deep as your shoulders allow without pain. If your feet or knees hit the floor, raise the bars.
Count two slow reps. Watch where the bar presses into your palm. It should stay in the meat of the hand, not the thumb pad or the outer edge. If it migrates, adjust.
Step back and note the setup. Write down the width and height. You will repeat this until the setup becomes automatic.
If you have an existing shoulder or wrist issue, get cleared by a medical professional before you load the movement.
Height and Floor Space Are Placement Too
Most placement advice starts and ends with width. That misses half the problem. Height determines whether you can get real depth and how hard the mount is. Floor space determines whether you will actually train or skip it because the gear is buried in a corner.
Place the dip bars at a height that lets you lower to your target depth without your knees touching the floor. If you train with legs bent, that bottom position is more forgiving. If you train with straight legs or full extension, you need more clearance. The station itself also needs a level surface. A slight slope changes which side loads first.
In a small apartment, the space in front of the station matters as much as the station footprint. You need room to step in, brace, and lean forward without knocking a wall. With a freestanding unit you can move it toward the center of the room for a set and fold it away after.
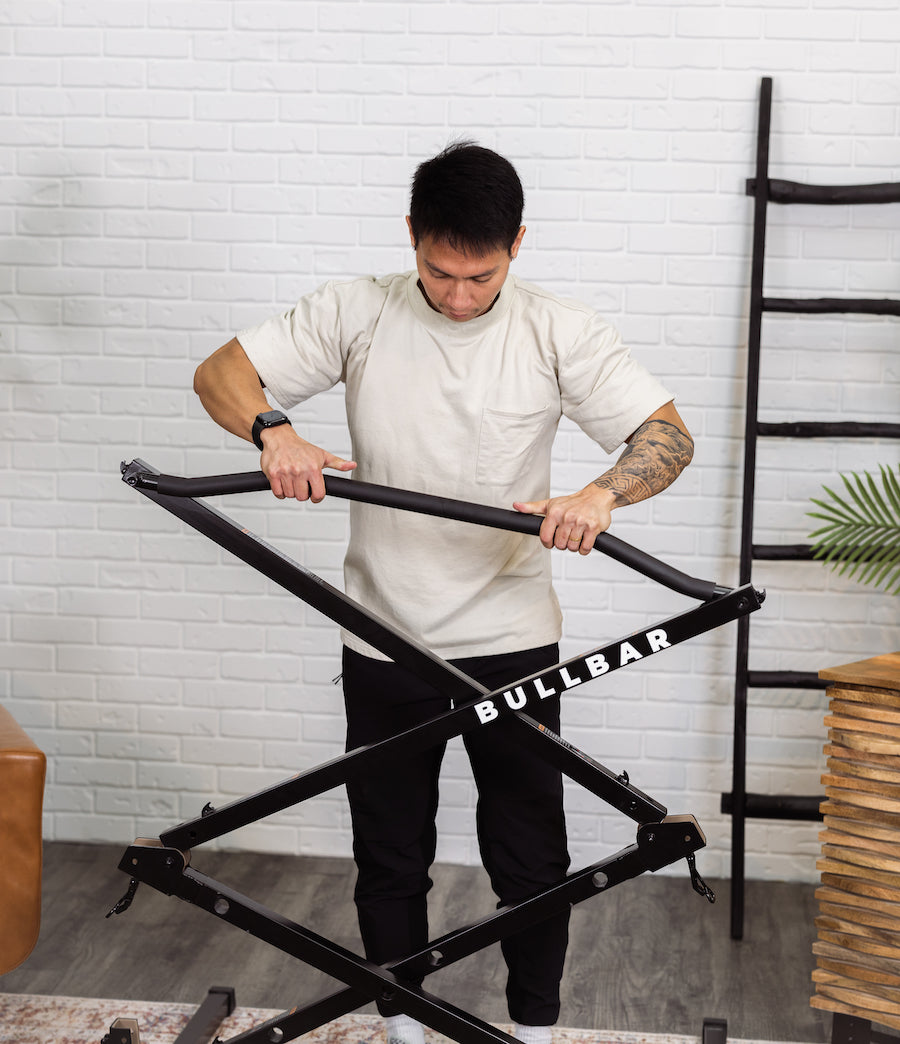
The BULLBAR 2.0 makes the placement check practical at home. The dip bars adjust from 21 to 24 inches and offer three height settings. That range covers the functional positions most lifters need once they stop copying a gym bar and start measuring their own hands and elbows. The open portal design leaves room to lean forward without a center post or back pad in the way.
Why Adjustable Placement Changes Your Training
There is a real training benefit to correct placement. When the bars match your shoulder width and height, you can load the dip pattern more consistently across sets. Your reps look the same at rep one and rep ten. You stop leaking energy into wrist adjustments or elbow corrections. You get stronger at the movement instead of getting better at compensating.
This is why the old advice to dip on whatever is there has limits. A few reps on a playground set will not hurt. But if dips are a main upper-body push in your training, placement is part of programming. The same way you would not squat with a bar placed unevenly on your back, you should not dip on bars that do not fit your shoulders. The reps you do in poor alignment become a pattern you have to unlearn later.
Set the Bars, Then Train
Dip bar placement gets ignored because most people have never used a station that adjusts. Fixed bars trained them to accept whatever width was there. Adjustable bars put the decision back where it belongs: with the lifter.
Set the bars to your frame. Test small adjustments and keep the notes. Train dips as a skill. Your shoulders and wrists will tell you quickly if the placement is right.
If you train at home and want a station that does not force you to choose between portability and proper setup, try the BULLBAR 2.0. It sets up in under a minute and folds down to 45 by 13 by 11 inches. The dip bars adjust from 21 to 24 inches across three height settings, so you can run the placement check in your own space.
Try BULLBAR for 100 days, risk-free. Free 3 to 5 day U.S. shipping and a lifetime limited warranty.
Share
